Results & Progress
How to Take Progress Photos for Hair Growth That Actually Show Change
Your eyes adjust to gradual change, which is exactly why you need a real system for hair growth progress photos: the same angles, light, and schedule every time. Here is how to take photos that actually reveal what is happening on your scalp.
Updated July 1, 2026
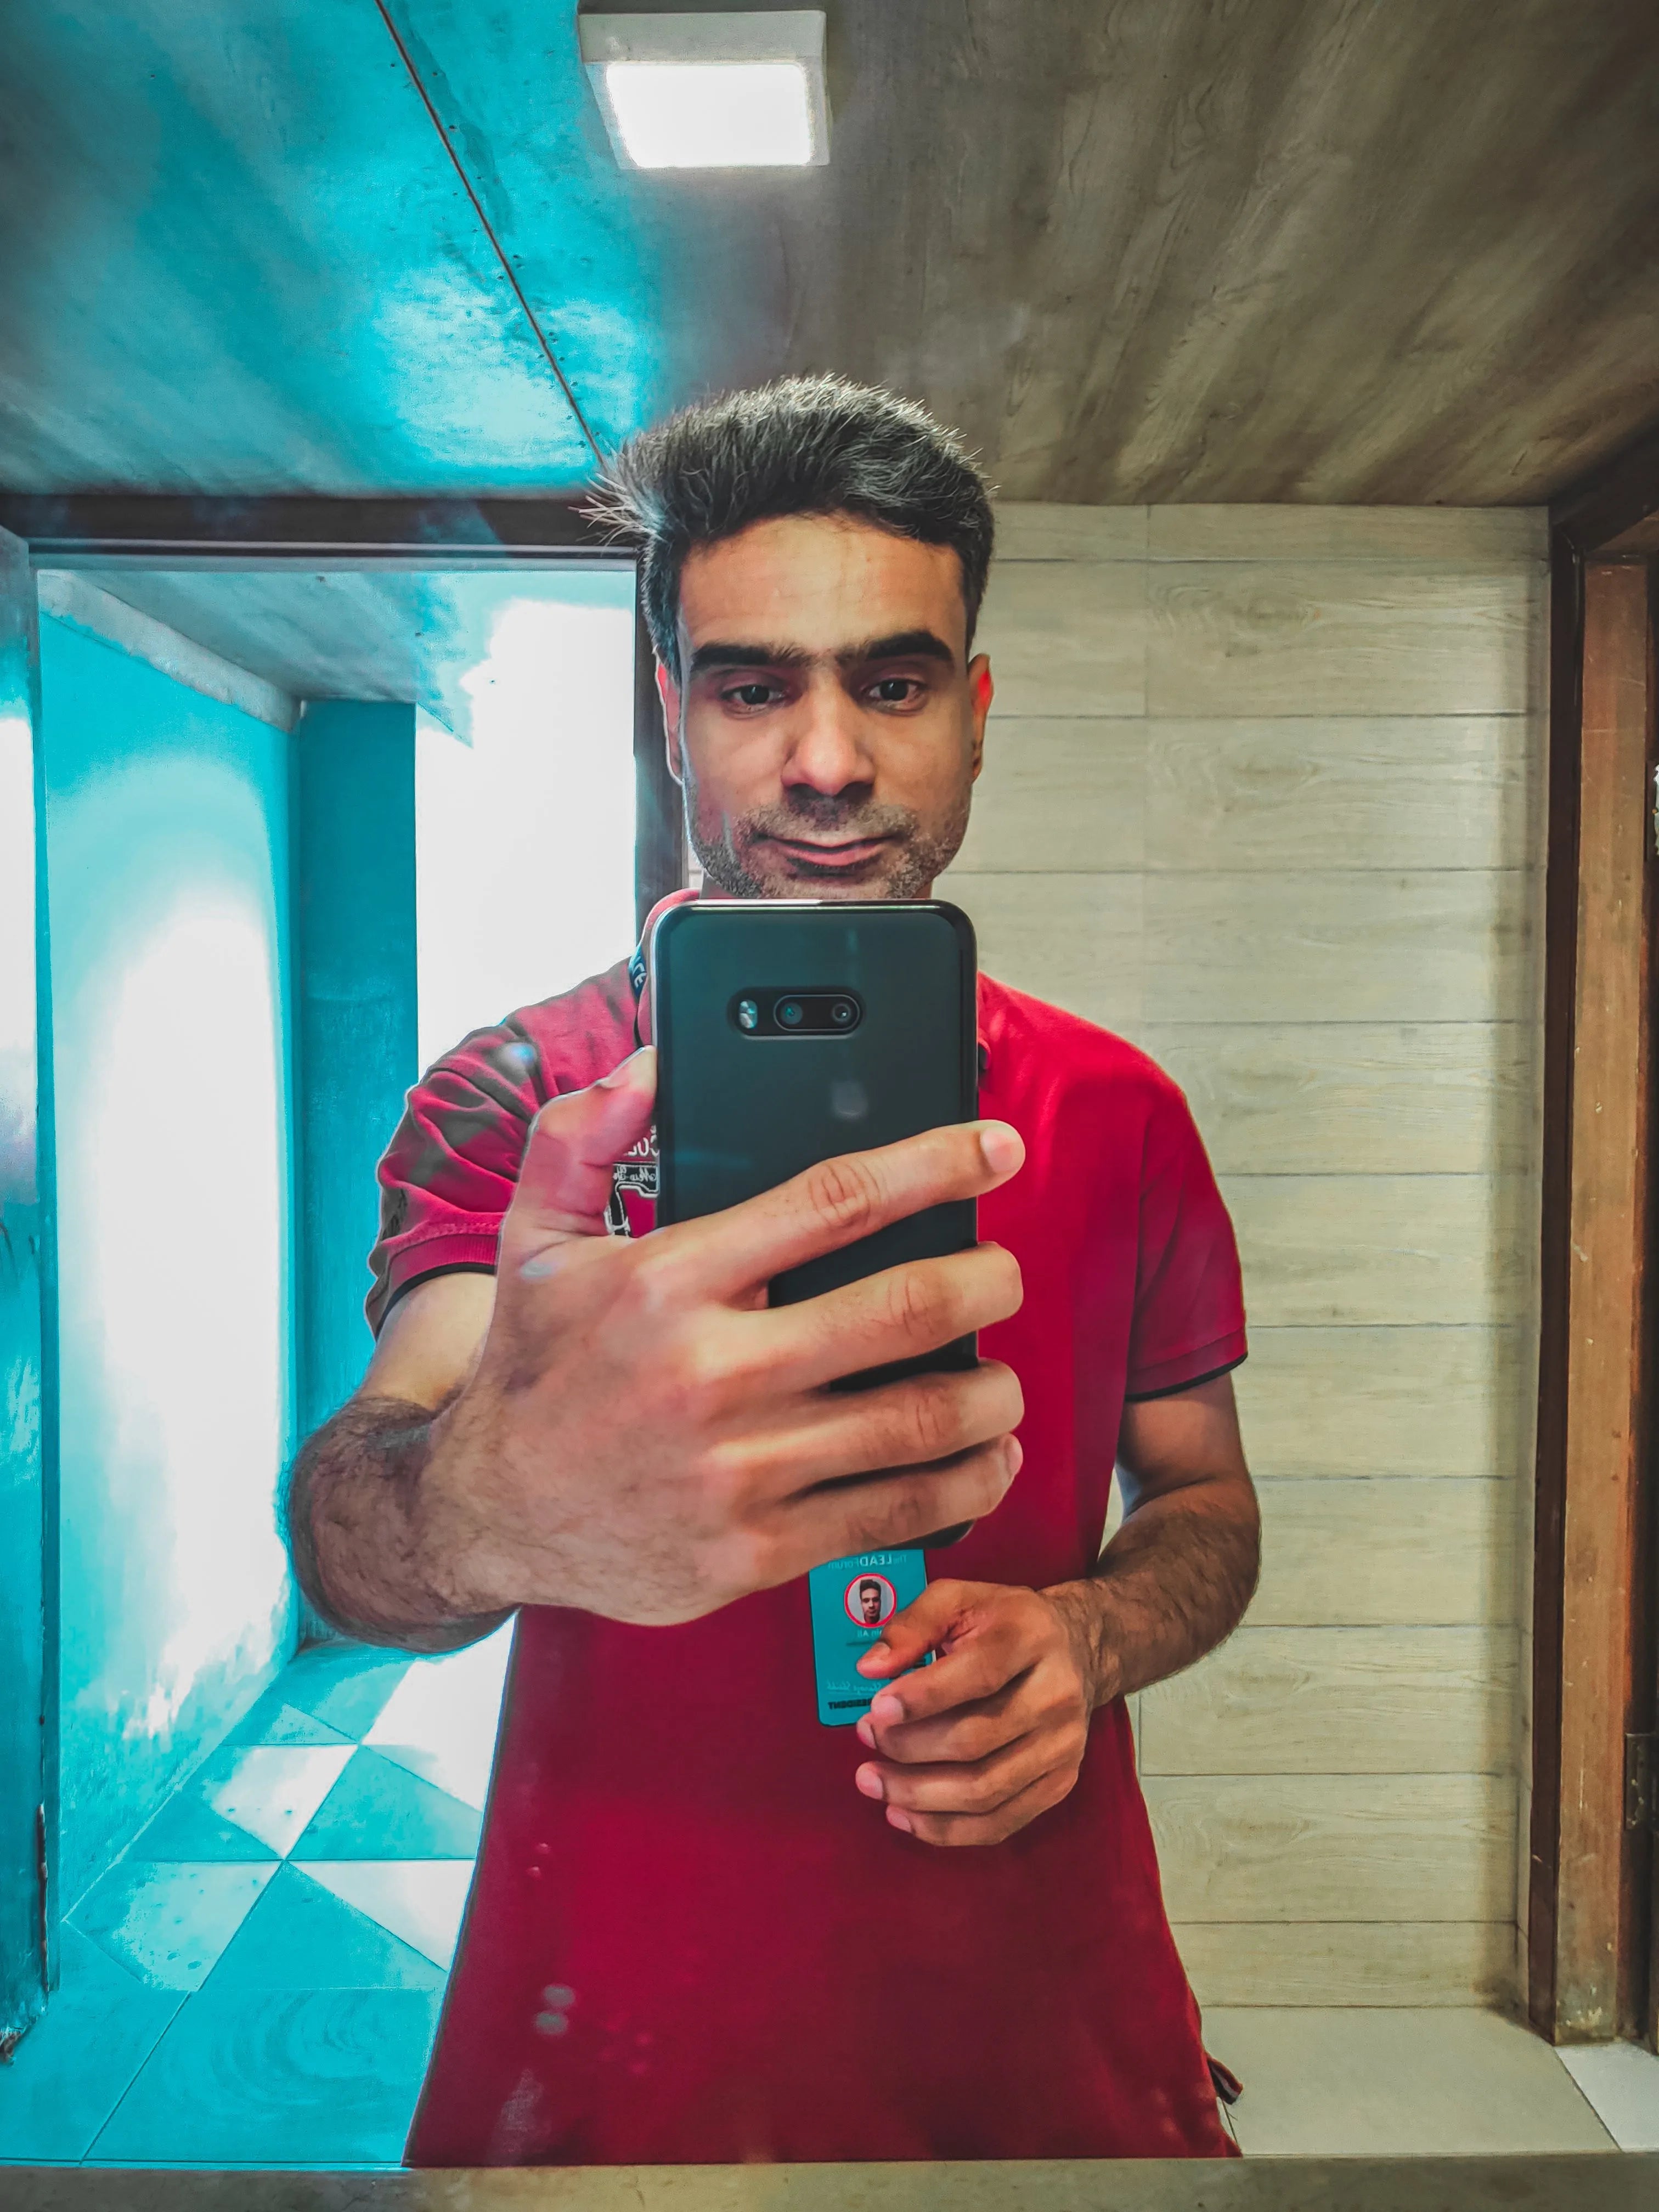
If you've been trying to judge your hair growth by staring into the bathroom mirror every morning, you already know the problem: your eyes lie to you. Overhead light shifts by the hour, your hair looks different wet than dry, and your brain is so used to your own reflection that it smooths over small changes before you even register them. Progress photos are supposed to solve that. But most people take them so inconsistently that the photos end up just as unreliable as memory, and then they conclude, wrongly, that nothing is working.
The fix isn't a better camera or a photography degree. It's a system: the same angles, the same light, the same distance, the same schedule, every single time. Once that system is in place, photos stop being a source of daily anxiety and become the most honest tool you have for tracking hair growth photos and knowing, with real evidence, whether your routine is doing its job.
Why Most Hair Growth Photos Fail to Show Change
Hair grows roughly half an inch a month, and meaningful density changes from any hair loss treatment, prescription or not, typically unfold over three to twelve months. That means the day-to-day differences you're trying to catch are small by definition. If your lighting, angle, hair state, or camera distance shift even slightly between shots, those variables can easily overwhelm the actual signal you're looking for.
This is the single biggest mistake people make with before after hair photo tips: they treat photo-taking as an afterthought instead of a measurement. A scientist wouldn't change three variables at once and expect a clean result, and neither should you. Every inconsistency you introduce, a brighter window, a slightly closer phone, damp hair one month and blow-dried the next, adds noise that can hide real progress or, just as often, manufacture the illusion of decline.
The good news is that once you understand which variables actually matter, locking them down takes about five extra minutes a month. The rest of this guide walks through exactly which ones to control and how.
Choosing the Angles That Actually Matter
Not every angle is equally useful. Pattern hair loss driven by DHT tends to follow predictable patterns, thinning at the temples and hairline, widening at the part, and thinning at the crown, so your photo set should be built around the areas most likely to change first, not just whatever looks flattering.
- Frontal hairline: Face the camera straight on with hair pushed back off your forehead so the hairline is fully visible.
- Both temples: Turn roughly 45 degrees each direction to capture temple recession, which often changes before anything else.
- Part line: Look straight down at the top of your head, or have someone else shoot it, with your part combed exactly the same way each time.
- Crown or vertex: This is the hardest angle to self-photograph consistently, so consider propping your phone on a shelf or using a second mirror aimed at a bathroom mirror to get a top-down view.
You don't need all four every week, but you do need all four at least once a month. Crown thinning in particular is notoriously hard to judge by feel because you never see the top of your own head under normal circumstances, which is exactly why so many people are surprised, in a good way, when a proper vertex photo shows coverage they hadn't noticed filling back in.
Lighting Is Everything: Control It Like a Variable
Lighting is probably the single biggest wrecking ball in amateur progress photos. Overhead bathroom lighting casts hard shadows across the scalp that can make thinning look worse than it is one month and better than it is the next, depending on the exact angle of the bulb and how close your head is to it. Flash does something similar, bouncing hot, uneven light off the scalp and creating glare that hides fine, regrowing hairs entirely.
The most reliable setup is indirect natural light: stand facing a window at the same time of day, ideally mid-morning or early afternoon when daylight is bright but not direct and harsh. If natural light isn't practical, use the same artificial light source every time, positioned the same way, and turn off your phone's flash completely. Consistency matters more than perfection here. A slightly dim but identical light source every month beats a bright one that changes each time.
Key Point
Pick one spot in your home, near one specific window or under one specific light, and designate it as your permanent photo station. Mark the floor with a small piece of tape if it helps you stand in the exact same place every time. Treat it like a lab setup, not a selfie spot.
Building a Schedule You'll Actually Stick To
Weekly photos are a trap. Hair simply doesn't grow fast enough for week-to-week comparisons to mean anything, and the temptation to obsess over tiny, meaningless fluctuations can wreck your motivation before real change has had time to appear. Monthly is the sweet spot for most people: frequent enough to catch trends, spaced out enough for actual growth to accumulate between shots.
- Pick a fixed day, like the first of every month, and set a recurring phone reminder so it isn't left to memory.
- Take your baseline set before you start or restart any new routine, including the first day you begin sessions with a laser cap or add a new supplement.
- Keep photographing on schedule even during the early weeks, when a temporary increase in shedding is common and can look discouraging in isolation.
- At three months and six months, sit down and actually compare the full set side by side rather than glancing at the newest photo alone.
If you're just starting out and aren't sure what kind of timeline to expect before photos should start showing anything, it helps to read up on what typically happens month by month so you're comparing your results against a realistic baseline instead of guessing.
Prepping Your Hair and Scalp the Same Way Every Time
Freshly washed, blow-dried hair looks noticeably fuller than second- or third-day hair, and product buildup can add both volume and shine that mask what's actually happening at the scalp. Neither state is wrong, but mixing them between photos is. Pick one point in your wash cycle, ideally day one or two post-wash with hair simply air-dried and free of styling product, and stay there every single month.
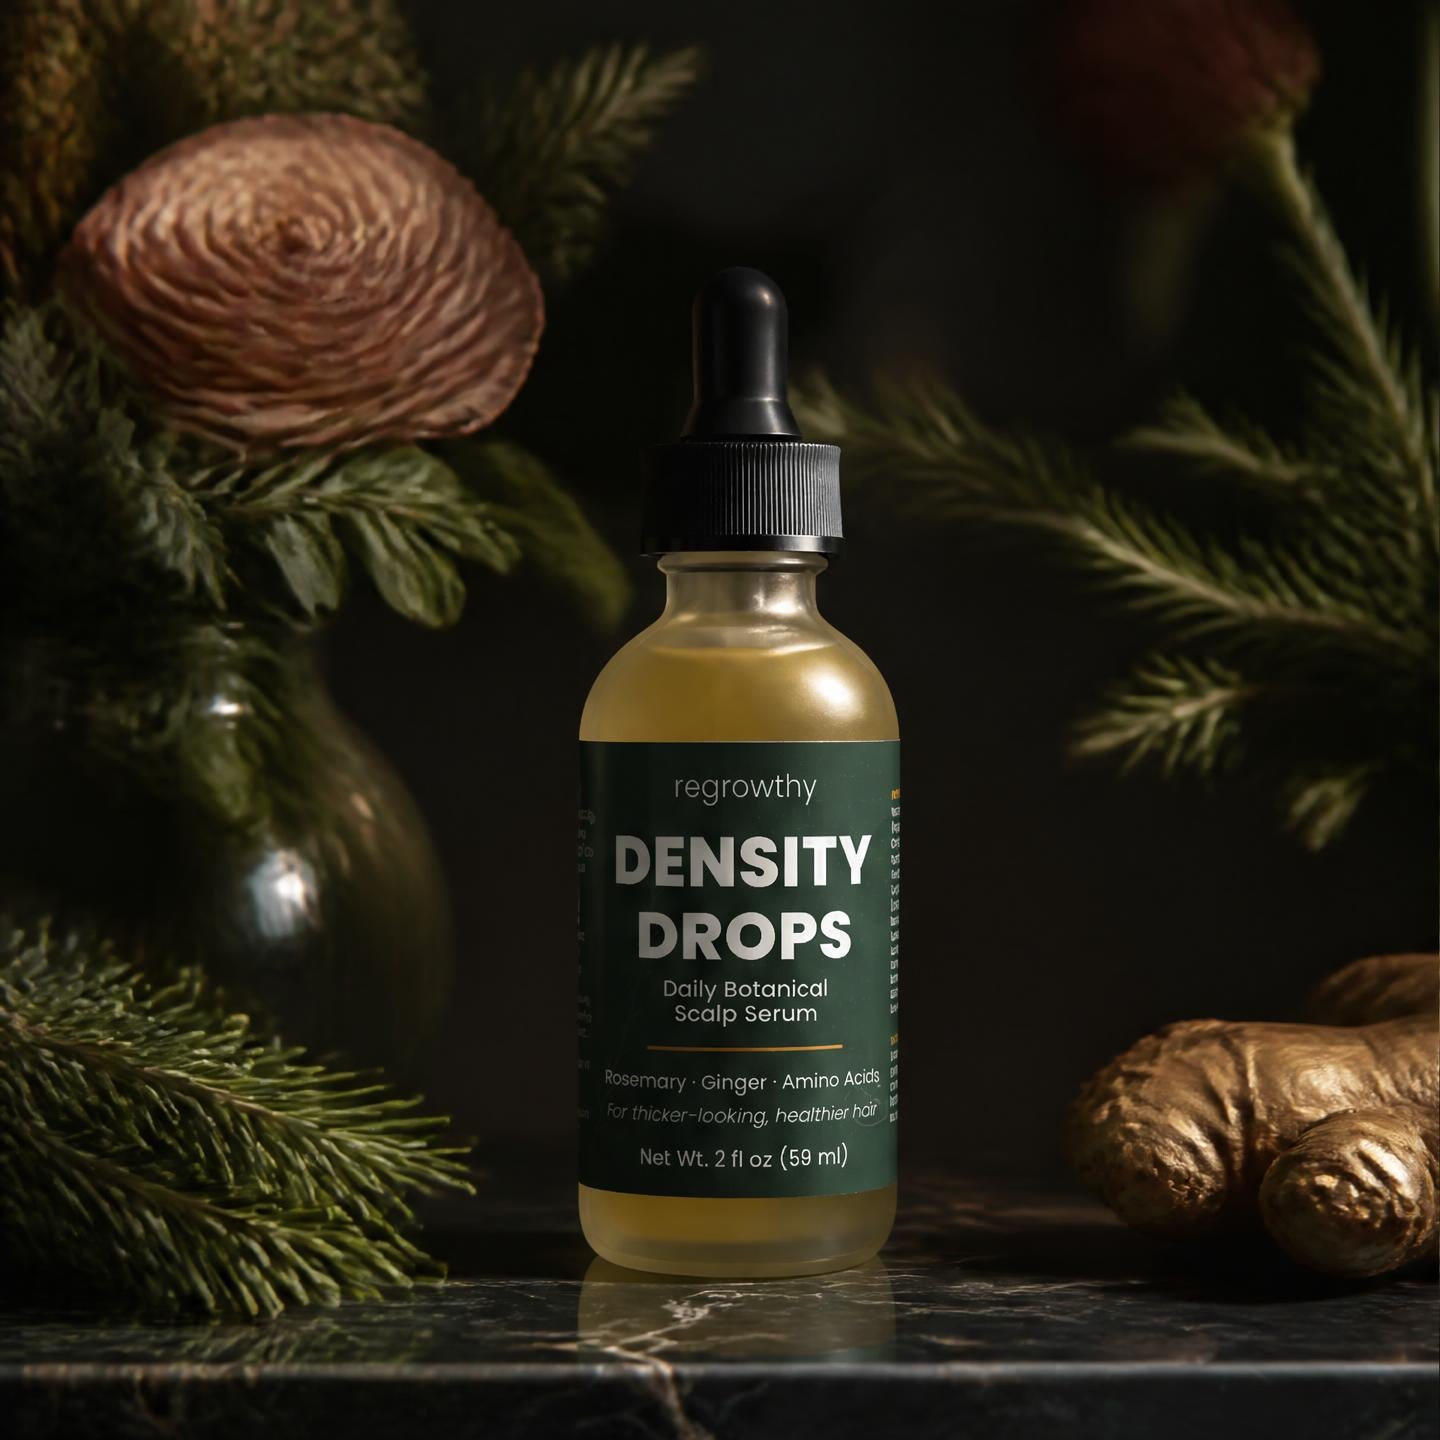
Before photographing, pull your hair back fully with a headband or clip so your hairline and scalp are completely exposed. Comb your part exactly the same way each time, since even shifting it half an inch can change how much scalp shows through in a part-line photo. If you use a topical treatment like Density Elixir as part of your routine, apply it after your photos rather than before, since freshly applied serum can leave hair looking wetter, flatter, or shinier in ways that have nothing to do with actual density.
Locking In Camera Distance and Settings
Modern phone cameras work against you in ways you might not expect. Portrait mode, beauty filters, and automatic skin-smoothing features are often applying subtle blur and retouching to your scalp and hairline without you realizing it, softening exactly the fine detail you need to track. Turn all of that off and shoot in the plain default camera mode.
Distance matters just as much. Standing closer one month and farther the next changes perceived density due to simple perspective, the same way a close-up makes hair look thicker and a distant shot makes it look thinner. Use a tripod or prop your phone against something stable, mark the spot on the floor, and try to keep the same arm's length or fixed distance every time. Turning on your camera's grid overlay can also help you frame the same crop consistently, so your hairline or crown lands in the same part of the image month after month.
Comparing Your Photos Without Fooling Yourself
Taking consistent photos is only half the job. Comparing them honestly is the other half, and it's where most people slip. Because you see your own hair every day, your brain adapts gradually and can miss both improvement and decline that would be obvious to someone looking at two snapshots side by side, months apart.
Organize photos into dated folders or a simple photo-comparison app rather than scrolling through your camera roll from memory. Compare your most recent photo against your actual baseline, not against last month's photo, since slow, steady change is nearly invisible month-to-month but often obvious over a longer stretch. It also helps to hand your phone to a partner or friend who hasn't been tracking your hair growth progress daily and ask them, without leading questions, what they notice first.
Resist the urge to cherry-pick your best-lit, best-angle photo from a given month and compare it to your worst one from another. If you've followed the same lighting and angle rules throughout, you shouldn't need to pick a flattering shot at all, the fairest comparison is simply the next photo in the series.
What If Your Photos Show No Change Yet?
It's common to look at month one or even month two photos and see essentially nothing different, and that's usually not a sign of failure. Hair follicles work on cycles, and many people using a new routine, whether that's a topical treatment, a supplement, or consistent sessions with a Laser Therapy Cap, go through a temporary period of increased shedding before new, thicker growth cycles begin. Photos taken during this window can look flat or even slightly worse before they turn a corner.
If three to four months have passed with truly no visible difference across your full photo set, hairline, temples, part, and crown, it's worth reviewing whether your routine has actually been consistent, since missed days and skipped sessions add up in ways that are easy to underestimate. It's also worth zooming in rather than relying on the full-frame image alone; early density gains often show up first as reduced scalp visibility in a zoomed part-line photo, well before the change is obvious in a wider shot or in the mirror.
Give the process real time before drawing conclusions. Photography can only report what's actually there, it can't speed up biology. Stay consistent with both your routine and your documentation, and let the months of photos do the talking instead of any single snapshot.
Progress photos aren't about creating a dramatic before-and-after for anyone else to see. They're a private, honest record that protects you from the two biggest traps in hair regrowth: giving up too early because you can't see subtle change, or convincing yourself something is working when it isn't. Build the system once, angles, lighting, schedule, prep, and honest comparison, and every photo you take afterward becomes real data instead of a guess.
From the routine
Mentioned in this article

Common questions
Frequently asked questions
How often should I take hair growth progress photos?+
What is the best time of day to take progress photos?+
Should I take photos with wet or dry hair?+
Why do my progress photos look worse before they look better?+
How long before progress photos actually show a difference?+
The Regrowthy System
Ready to start regrowing at home?
Hands-free. Non-prescription. 660nm clinical wavelength, backed by a 30-day guarantee.
Continue Reading
Results & Progress
Hair Regrowth Timeline: What to Expect Month by Month
9 min read
Results & Progress
How to Track Hair Growth Progress: Photos, Metrics, and Tools
7 min read
Results & Progress
Your First Month of Hair Loss Treatment: What to Actually Expect
9 min read
Results & Progress